After living in China for a while, it can be easy to forget what cash actually looks like! As every store, business, and bill is payable with a touch of a button on our phones, cash seems to serve no purpose other than taking up space in our pockets and bags. However, there are still a select few of us who carry around wallets everywhere we go and find joy from paying in cash rather than browsing through our phones to open up Alipay or WeChat.
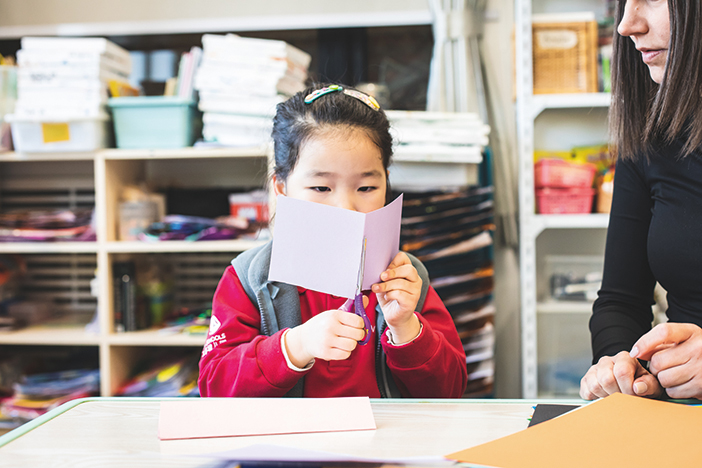
Maggie, a 5 and a half-year-old student from Ivy Academy says that her mom still likes to use her wallet, so as part of our Money and Finance issue, she made her mom a homemade wallet with the help of teacher, Hana Burazerovic.
Here are the materials and steps you’ll need to do the same with your kids, whether it’s to give them their very first wallet or finally start carrying one of your own for the first time in China!

What You’ll Need
- Scissors
- Colorful mini cotton balls
- Stickers of your choice
- Tape (masking or scotch are both fine), double-sided tape or glue, velcro
- 3 to 5 sheets of construction paper, any color, or zig-zag papers (pictured)
- Colored markers and rhinestone jewels

Step 1: Choose a piece of paper (Maggie chose pink here) that will be used for the outer cover and fold it into 3 sections.

Step 2: Pick out another piece of paper that is the same size as the first for the wallet’s inside (Maggie chose purple here). Fold the paper into 3 sections. Cut along the lines.

Step 3: Choose two pieces of the paper (purple) you just cut and fold them in half, individually. Then fold the two pieces in by a few centimeters, turn the pieces over, and repeat until they are all folded in like a paper fan.

Step 4: Cut two strips of the double-sided tape and stick it on two sides of one piece of the paper (here, purple). Repeat the same step with another piece of paper (also purple). Peel the tape and stick it to the two edges of the other paper (pink). Press along the edges and fold.

Step 5: Cut out two pieces of velcro. Place one of the velcro strips on the inner part of the envelope and place the other on the other side, situated in the middle of the paper so that they can be fastened together.

Step 6: Choose whichever jewelry you like and stick it on the wallet, write your name on it and decorate however you please.

KEEP READING: Maker’s Corner: CISB Kid Helps Us Create an Adorable Gift for Mother’s Day
Photos: Uni You
 This article appeared in the beijingkids 2020 March – April issue


