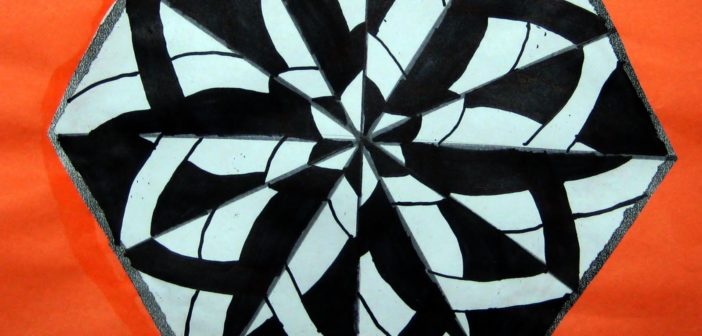
One of the most striking architectural designs I’ve seen is the Alcazar of Seville in Spain. I learned of this magnificent palace as it was featured as one of the locations in the hit TV series, Game of Thrones.
The palace is one of the most renowned of the few surviving examples of Mudéjar-style buildings, inspired by Islamic architecture and designs of North Africa and the Iberian Peninsula. Islamic decorations do not use figurative images, but instead intricate geometric patterns derived from the designs used in Greek, Roman, Persian, and other ancient cultures conquered by early Muslims.
The Alcazar of Seville has a majestic golden dome with complex symmetric ornamentations. Just recently, I’ve watched a TED-Ed video (requires a VPN to access) explaining the history of these captivating motifs, and I learned that it’s easy to do and a great way to use math in art as well as learn more about Islamic culture.
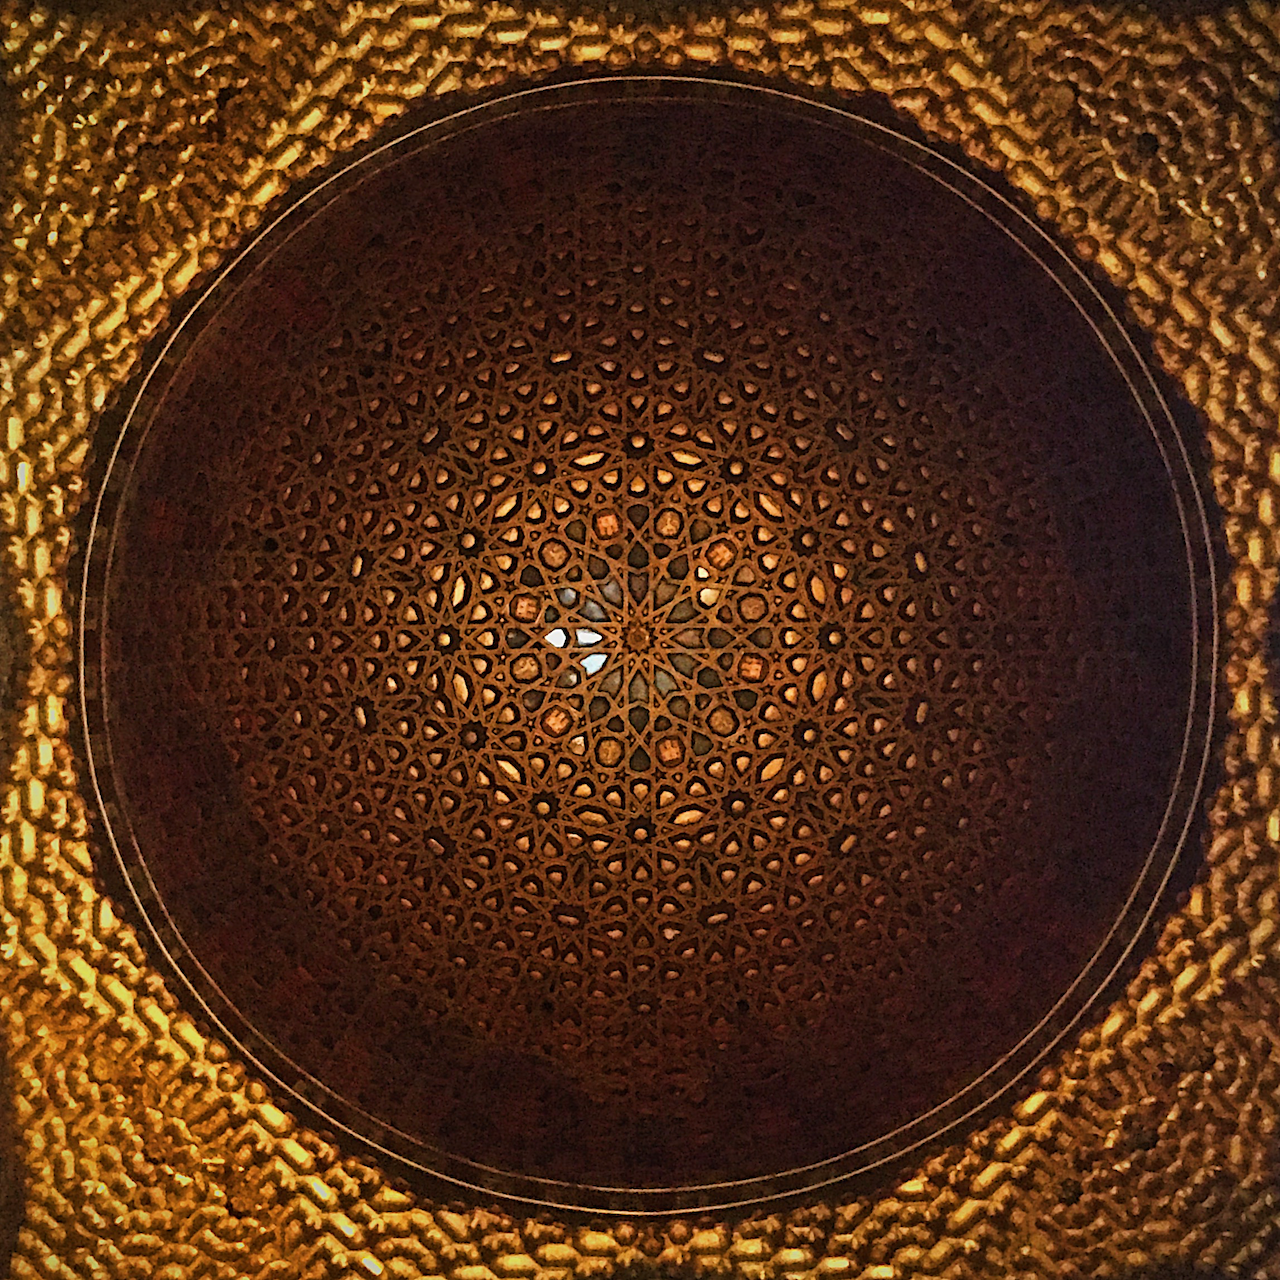
The Golden Dome of the Alcazar of Seville is a majestic centerpiece that shows the beauty of the geometric style of Mudejar architecture.
For this edition of Maker’s Corner, let’s celebrate Eid al-Fitr (the end of Ramadan) and create our kaleidoscopic patchwork of Islamic patterns that are sure to be not only fun but also amaze your friends and family.
For this project, we’ll make use of the basic instructions from Art Lessons for Kids website. The activity can last for at least 30 minutes and is good for kids ages 5 above.
What you will need
– Ruler
– Pencil
– Coloring materials (crayons, watercolor, or colored pens)
– Cardboard
– String
– Glue
– Compass (advanced)
– A clean sheet of paper

Step 1. This part is where math comes in. For younger kids, the teacher or parent can print out a ready-made polygon. The more sides the polygon has, the more complex and intricate the design will be. Older kids who have learned the basics of geometry can create their own circle with an inscribed polygon using a compass. Here’s a YouTube video that shows how to make inscribed polygons using a compass.

Step 2. So here’s the art part: Once the circle with an inscribed polygon is ready, draw straight lines linking different corner points of the polygon and the other resulting shapes. Just make sure they are symmetric.

Step 3. It’s coloring time! From the coloring materials you have, paint the shapes and patterns in your motif. It’ll be best to limit the colors to four, especially if you have an intricate pattern.
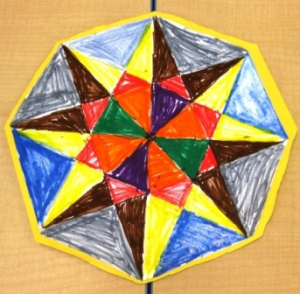
Step 4. Your motif is now ready. You can cut and paste it onto a cardboard and use a string to hang it, just like a dreamcatcher! You can also use the cutout to decorate items or make it a notebook cover.
Some ideas that make use of a geometric pattern, just like the project we did:
– You can redo our project, but this time you need to create two identical motifs with thicker lines (1/4 to 1/2 inch) and make the patterns less intricate. Cut out the inside shapes, and from the holes, you can paste colored paper or cellophane. Paste the other motif on the back side of the motif with colored paper. You’ll have a stained glass-type of the motif, which you can hang in your window!
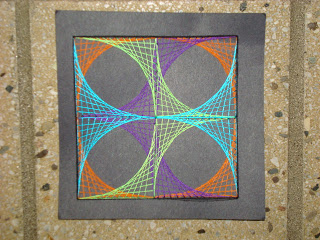
– Instead of drawing the lines, you can use colored strings, like this project from Adventures of a Middle School Art Teacher. But you need to use corkboard pins or thick needles and stick them onto the corner points of the polygon in the circle. Then, you can attach strings and connect different points.
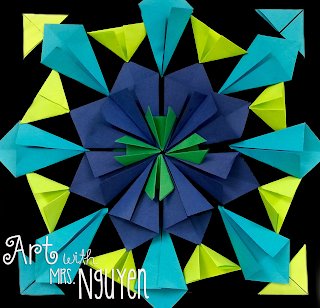
– Using the idea of radial symmetry, level up your motif and use paper folds and origami! Here’s a YouTube video by Art with Mrs. Nguyen showing that project.
The possibilities are endless, so enjoy making your Islamic-art-inspired geometric motif!
Photos: Mrs. Art Teacher (featured photo), Art Lessons for Kids, Adventures of a Middle School Art Teacher, Art with Mrs. Nguyen, Andy Penafuerte, stockunlimited.com

