Thanksgiving is a day to share with our loved ones while being grateful for all the blessings in our lives. Celebrating it with a DIY craft not only adds an extra element to your seasonal decorations but also gives a personal touch when you welcome your guests.
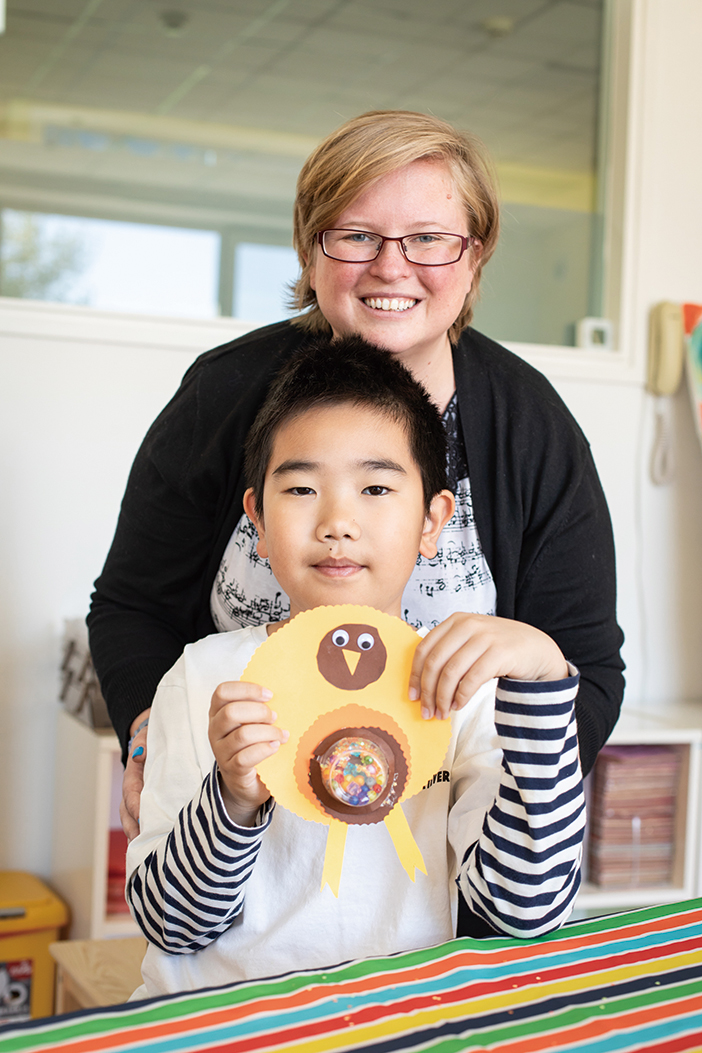
Tiger Xu, a Year 2 student from House of Knowledge, along with his teacher Sarah Green, made a turkey treat box. It was great fun for both of them, and the craft just got them more excited about the upcoming festival.
Follow the instructions below to make this cute and easy-to-make craft, so you can spend some precious fun time with your children, and surprise your Thanksgiving visitors!
What You’ll Need
– Pencils
– Scissors (straight and scallop-edged)
– Four circular items of different sizes
– Cardstock, in any colors you like
– Plastic wiggly eyes
– A cup for treats
– Adhesives (double-sided sticky tape and a glue stick)
– Any kind of sweets which fit the treat cup
Instructions
Step 1. Place the circular objects on the cardstock and draw around them. Cut out the resulting circles. Use the scallop-edged scissors to give all but the smallest a wavy edge, or scallop them by hand. Draw concentric circles using the cup and the next largest object, and cut out to make a ring of the card.
Step 2. Cut out two long rectangles, and snip out a triangle from one end of each to make the feet. Also, cut a small triangle for the beak, using the same color card as the feet.

Step 3. Stick the three scalloped circles one on top of the other, with the bottom edges aligned. Then add the small circle for a head.
Step 4. Fill the treat cup with sweets and stick the cup onto the circles. Stick the ring of card around it.
Step 5. Add the wiggly eyes, the beak, and the feet in order to finish off the turkey, and then you’re ready to treat your young guests!


This article appeared in the beijingkids November 2018 Beijing Makers issue
Photos: Uni You


