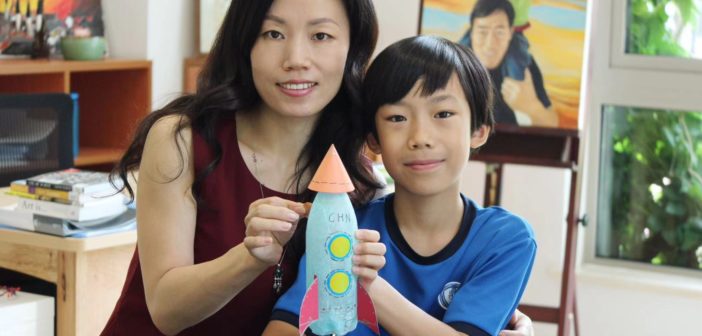
As the season of giving approaches and we try to move from “more stuff” to “savings account” gifts for our kids, I went searching for a cool bank we could make without breaking the bank. And I found it in our beijingkids archives! Enjoy this Maker’s Corner from 2013 that can start your kids on the road to understanding how to save their kuai.
One of the tools for teaching children to save money is to give them a piggy bank to stash their pennies. Today’s kids might wonder what a piggy bank is, or why it’s called what it’s called. After all, how many pink pig-shaped saving banks are in stores these days?
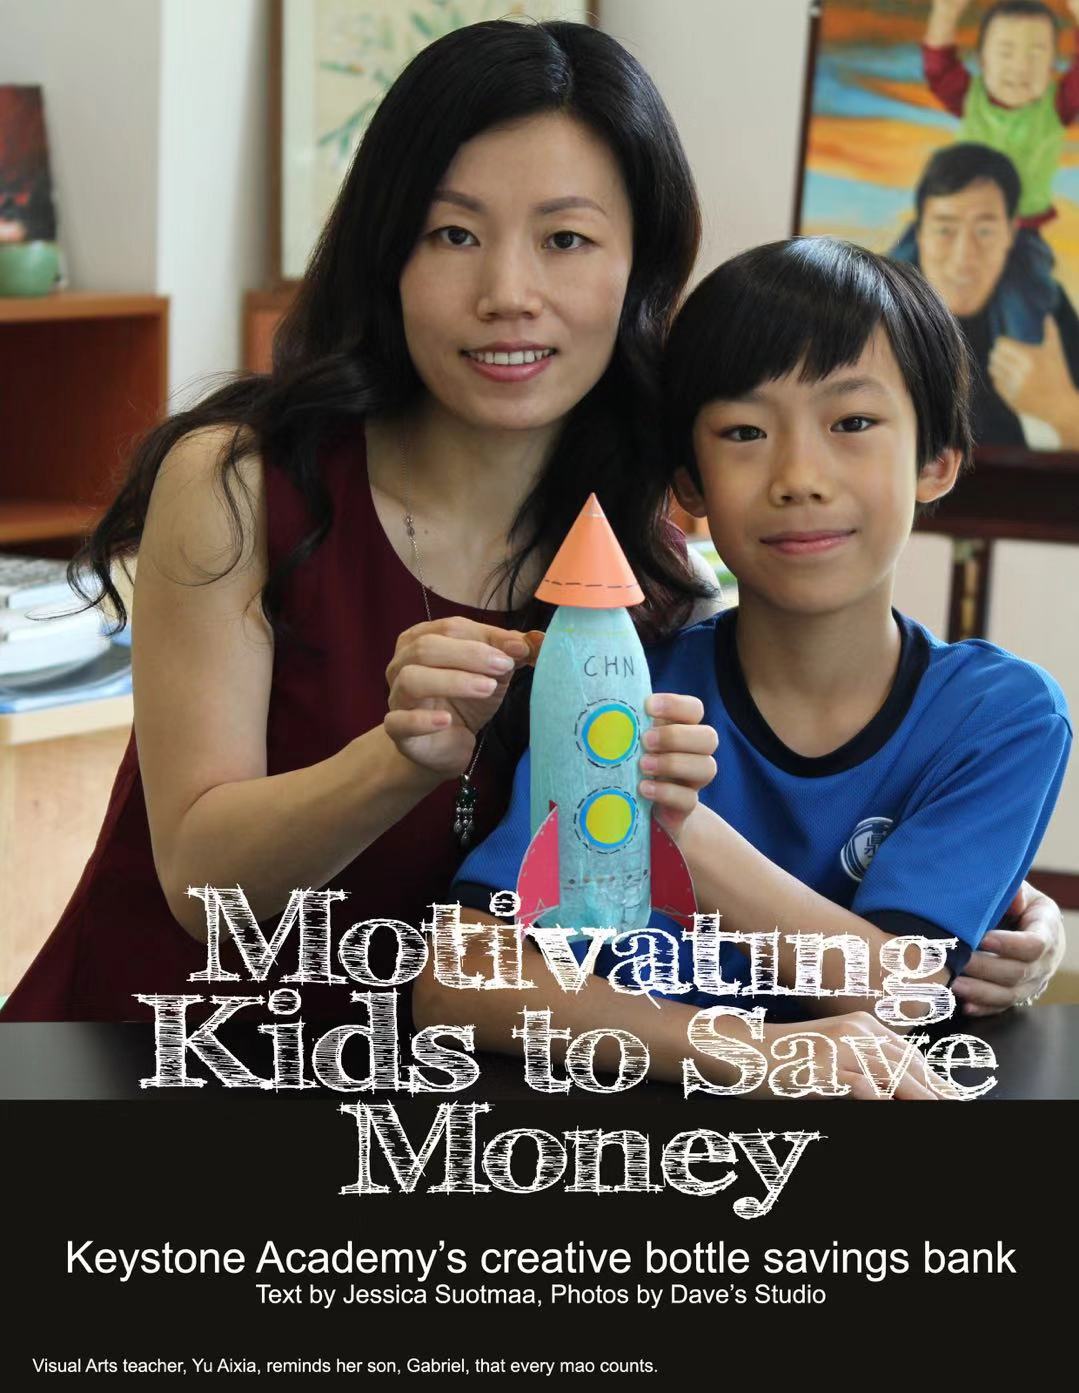
Rather than expect kids to want to display and treasure a fat pink piggy bank bought from the store, Keystone Academy’s Visual Arts teacher has combined recycling and her son’s interests to create a spaceship savings bank!
Ten-year-old Gabriel demonstrates the craft for us with few materials for a simple decoration, but there is room to either simplify or complicate this craft. Use a thicker colored paper instead of tissue paper and draw the windows or use glitter pens and stickers to make a space shuttle so colorful saving money can’t possibly be overlooked!
Estimated time: 60 minutes’
Suitable for: 7+
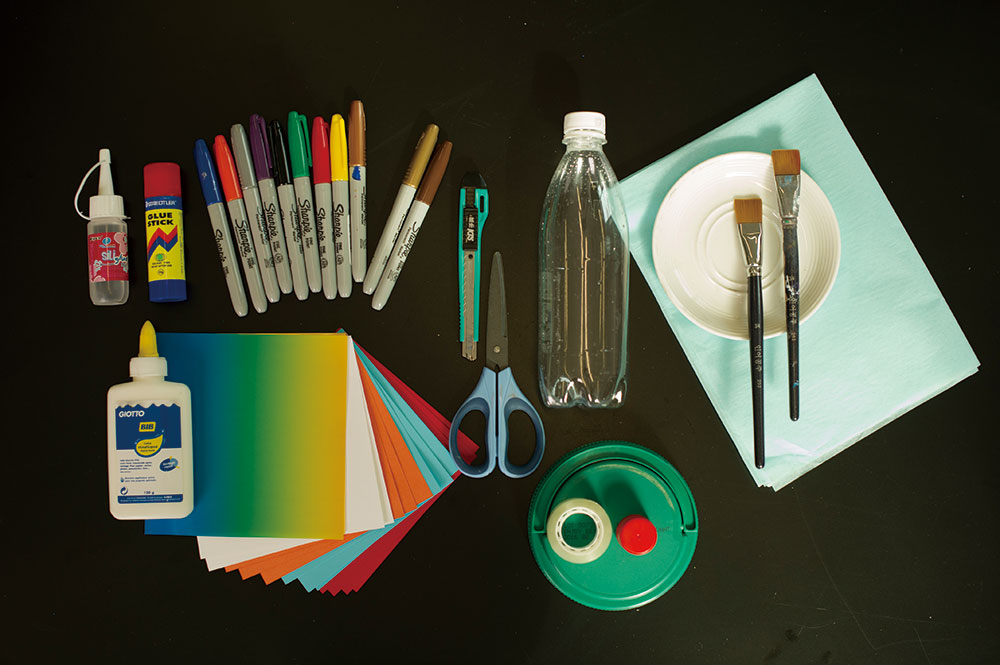
Materials:
1. Empty plastic water bottle
2. Colored paper
3. Tissue paper
4. Scissors
5. Permanent marker
6. White glue
7. Glue stick
8. Craft glue
9. Plate
10. Brushes
11. Circular objects in different sizes

Prepare the body of the shuttle.
1. Cut a hole in the plastic bottle.
2. Paint white glue on the water bottle with a brush.
3. Cover the plastic bottle with tissue paper.
4. Brush over the paper. Leave it to dry.
Prepare the shuttle trappings.
5. Trace a big circle on colored paper, cut the circle out, and fold it in half to then make a cone.
6. Trace and cut three bigger and three smaller circles with different colored paper.
7. Create fins out of colored paper by first folding the paper two times. Then, draw the shape of the fin and cut two out at once.
8. Fold the straight edge of fins to create a place to put glue.
Prepare the shuttle for launch.
9. Glue the cone on the cap with craft glue.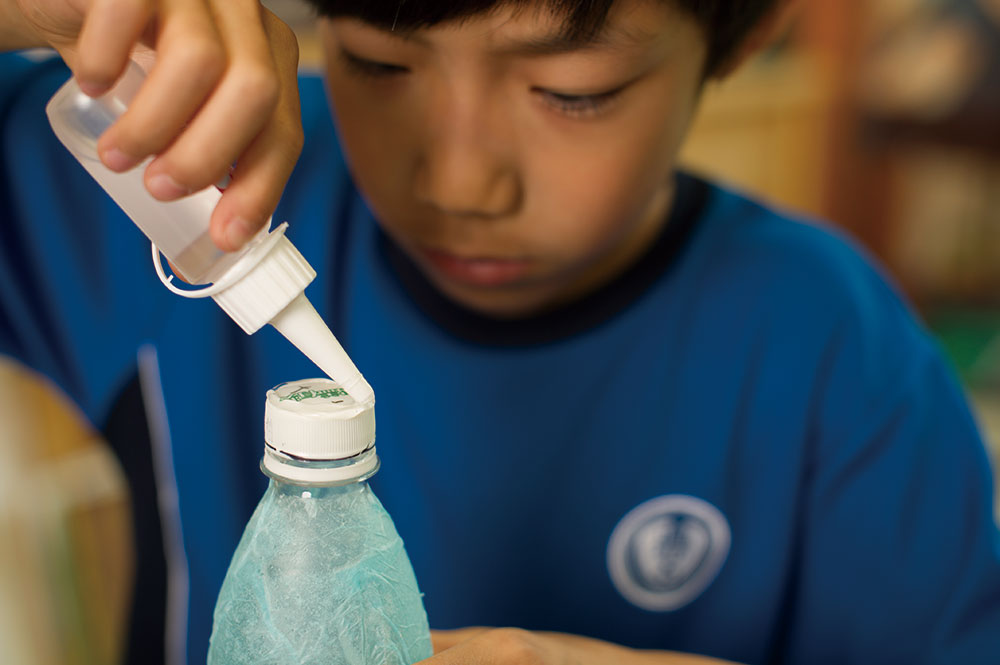
10. Glue three fins on the shuttle.
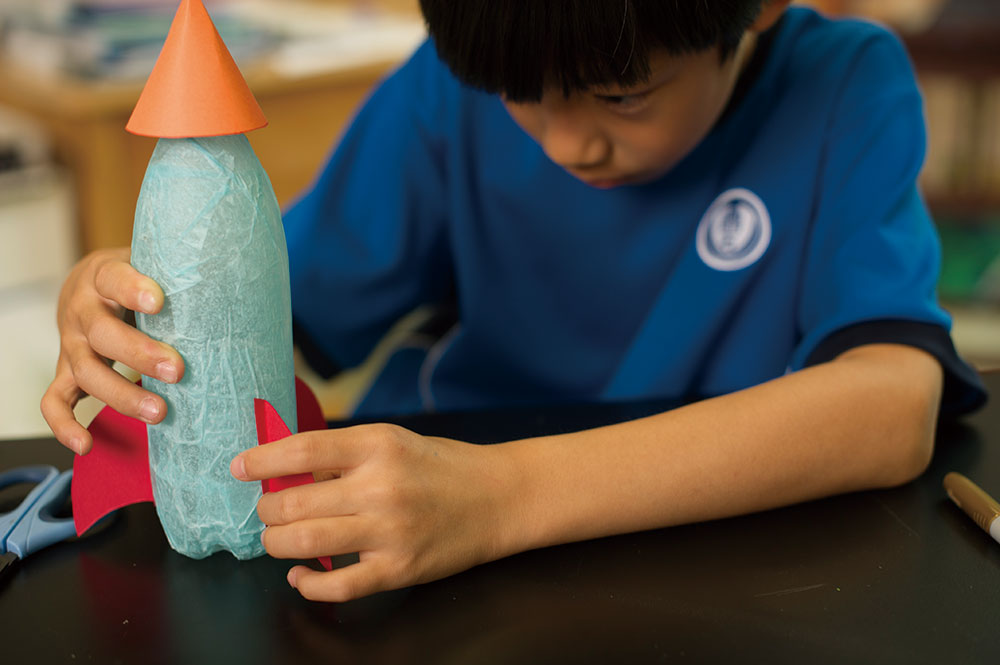
11. Glue two circles together to create windows. Attach the windows to the body of the shuttle with glue.
12. Decorate the rocket with permanent makers by drawing ladders, nails, symbols, or signs.
This article originally appeared in the September 2016 Issue of beijingkids magazine. Click here for your free online copy.
KEEP READING: Gratitude Journal 2020: “We Won’t Take for Granted Our Health”
Photos: Dave’s Studio

