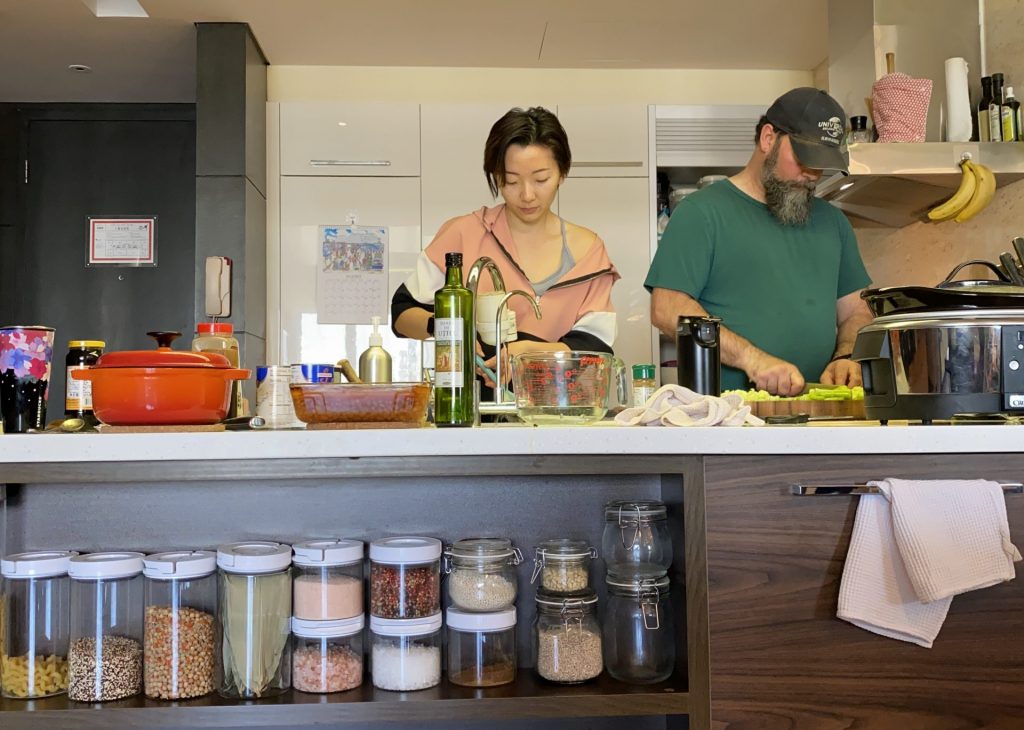
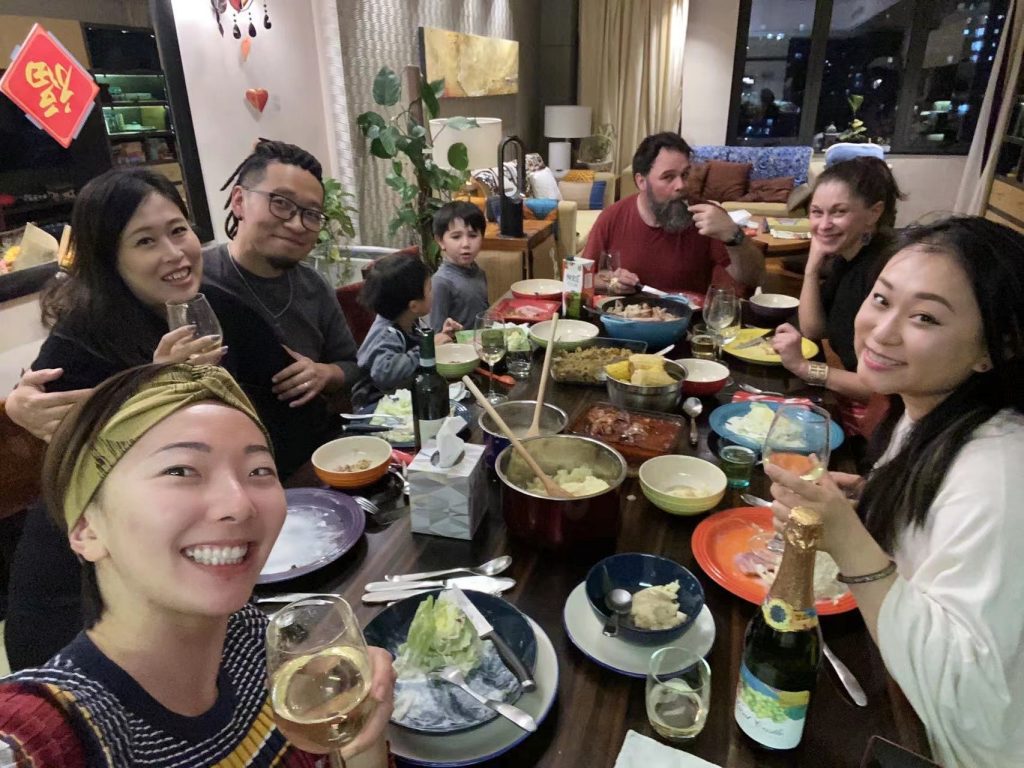
We hosted our first Thanksgiving dinner celebration as a family last night and it was a blast! The food was delicious, the company excellent, and the drinks sparkling (the Prosecco was my favorite though the red wine that fellow editor Julie Wolf recommended here impressed my husband most). Yet the success of this year’s Thanksgiving actually started 48 hours before the dinner itself, when I joined my husband in the kitchen to help him prepare and cook.


You see, my husband loves celebrating all the American holidays the traditional way – with food. This means we break out the barbecue grill on Jul 4, purchase heaps of full-size candy bars for Halloween (more of which ends up in our hands than the trick or treaters’), and prepare the works for Thanksgiving. Just take a look at our menu last night to get an idea:

This was my husband’s menu for our family of three, and year after year since we have been married, he has prepared and cooked this meal almost entirely by himself. Wait a second, you’re probably asking, by himself? What am I, his spouse and life partner, doing?! Well, I kind of took it upon myself to just sit with the kid and keep him out of the kitchen. In my defense, I have tried to help before, but have either been rejected outright or been chased out of the kitchen before I could properly contribute. My husband is a man with high expectations, and in his kitchen, you don’t get to stand around with your hands on your hips waiting for step-by-step instructions. Much like Yoda, he believes, “Do or do not, there is no try.”
But this year, we were backed into a corner by time. Because of an issue about the kitchen cleanliness, my husband took it upon himself to scrub the counters until they were sparkling white before he began his food preparation, which led to a big time crunch. Sensing his frustration and mounting anxiety, I jumped in to help and this time, he didn’t say no. Don’t worry I still didn’t lay a hand on the actual cooking; I simply prepped the food and cleaned up whatever he dumped in the sink. But I did it mostly by instinct, accurately anticipating that if apples were on the countertop, they needed to be washed and cut. Before I knew it, we had gotten into a flow in the kitchen – he would ask for something, and I would get it straightaway. This came as close to the idyllic picture of husband and wife cooking together happily in the kitchen as we have ever gotten.

After almost eight years, I felt like my husband had finally accepted my help, and that my help was worthy. Later on, when I asked him what changed this year, he said that “I was much more motivated to help and didn’t just stand in the kitchen like a deer in the headlights”. Instead of being offended, I’m taking it in stride and hearing “You’re getting better at this cooking thing!” which motivates me to keep working at it. Cheers to that!

And here’s another fun part about cooking – sharing recipes! Here’s ours for good Ol’ Fashioned Apple Pie

INGREDIENTS
* Pie dough for top and bottom 9-inch pie, chilled
* 4 to 4 1/2 pounds (2kg) Granny Smith apples
* 1/2 cup (100 grams) light or dark brown sugar
* 1/2 cup (100 grams) granulated sugar
* 1/4 teaspoon fine sea salt
* 1 teaspoon ground cinnamon
* 1/4 teaspoon ground ginger
* 1/4 teaspoon ground cardamom
* 1/4 teaspoon ground allspice
* 1/4 teaspoon freshly grated nutmeg
* 2 tablespoons cornstarch
* 1 tablespoon butter
* 1 egg
DIRECTIONS
* FOR APPLE FILLING
* Peel, and then cut the apples in half. Remove the cores, and then slice apple halves into thin slices, about 1/4-inch thick. Place the apple slices into a very large bowl.
Scatter both sugars, salt, and spices over the apples, and then use your hands to toss them, coating the apple slices as much as possible. Set aside for 1 hour at room temperature.
* PREPARE PIE CRUST
* Roll out the first half of pie dough on a lightly-floured work surface. To prevent the dough from sticking and to ensure uniform thickness, roll from the center of the dough outwards and keep lifting up and turning the dough a quarter turn as you roll. Check for the correct size by inverting the pie dish over the dough. The dough should be about 1 1/2 to 2 inches larger than the dish.
Being careful not to stretch it, place the dough into the pie dish, and then trim overhanging dough to within 3/4-inch of the edge of the dish. Refrigerate while you make the pie filling.
Roll out the second half of dough to a similar size as before and transfer it to a large parchment-lined baking sheet. Keep this in the refrigerator until needed.
* PREPARE OVEN
* Position an oven rack towards the center of the oven, and then heat the oven to 400 degrees Fahrenheit (200C).
* ASSEMBLE PIE
* Toss cornstarch (or tapioca) with the apples. Transfer most (if not all) of the apples into the prepared bottom crust, using your hands to really pack them down into the pie. Fill the pie until apples are mounded at the same height as the edge of the pie crust. If you have too many apples, save them (see notes).
Pour the juices that have accumulated at the bottom of the bowl over the apples. (If it looks like there’s more than 3/4 to 1 cup of liquid, you might want to leave some behind, see notes below). Cut a tablespoon of butter into 8 or so small pieces and dot them over the pie.
For a double crust pie, place the second pie dough round over the filling or cut it into strips and lattice the top. If you are not adding a lattice crust and instead are adding the top crust in one piece, use a sharp knife to cut a few slits in the top of the crust to allow steam to vent.
Trim excess dough from the top crust or lattice strips, and then fold the overhang underneath itself, forming a thick rim. Press it together or crimp it with your fingers (or use a fork).
Whisk the egg with a tablespoon of water, and then use as an egg wash by lightly brushing the top crust. This adds shine and helps the crust brown.
* BAKE PIE
* Place the prepared pie onto a baking sheet lined with parchment paper (this can be the same lined baking sheet used for chilling the top crust). Bake the pie for about 75 minutes, turning a few times for even browning.
If you notice that the pie crust is browning too quickly, mold a large piece of foil over a bowl that’s been placed upside down to make a foil dome. Place the foil dome over the pie for the remaining bake time. This will slow the browning.
Apple pie is done when the juices are bubbling through the vents of the top crust or lattice. If you do not see bubbles, the pie needs more time. Another way to check for doneness is to use an internal thermometer. Pierce the pie in the middle then test the temperature. The pie is done when it reads 195 degrees Fahrenheit (90C). Piercing the pie is also a nice indication of how soft the apples are. If they feel too crunchy, the pie needs more time.
* SERVING
* Be sure to cool the pie, without slicing into it, for at least 1 hour, preferably longer. Keep in mind that the pie filling does not fully thicken until it is completely cooled. So, for the absolute best results, cool the pie to room temperature, and then place it into the refrigerator for an hour or two.
Waiting to cut into the pie until cool will prevent a soggy slice.
KEEP READING: Coaching is the New Therapy for Anyone and Everyone
Images: Vivienne Tseng-Rush, Pexels


